

CAM Inc.’s Stainless Steel Universal License Plate Mounting Brackets are designed for both front and rear license plate mounting applications, and include mounting hardware and instructions for an easy installation of your license plates. Read below about how to properly install the mounting bracket!
FEATURES INCLUDE:
Fits 6"X12" license plates.
Made from 304 stainless steel.
Powder Coated Black Finish.
Suitable for both front and rear vehicle application.
Includes hardware and instructions for easy installation.
Rattle free, anti-vibration rubber stops and mounting spacers protect your vehicle.
Guaranteed for a minimum of 4 years of exterior use.
Pair with one of our Stainless Steel License Plate Frames for a completely finished look.
*For some applications, may require the addition of holes in the vehicle mounting surface.
INSTALLATION

Contents:
Mounting Bracket
(2) Phillips #10 x 1” Screws
(4) #10 x .5” Screws
Tools Required:
Phillips Head Screw Driver
STEP 1


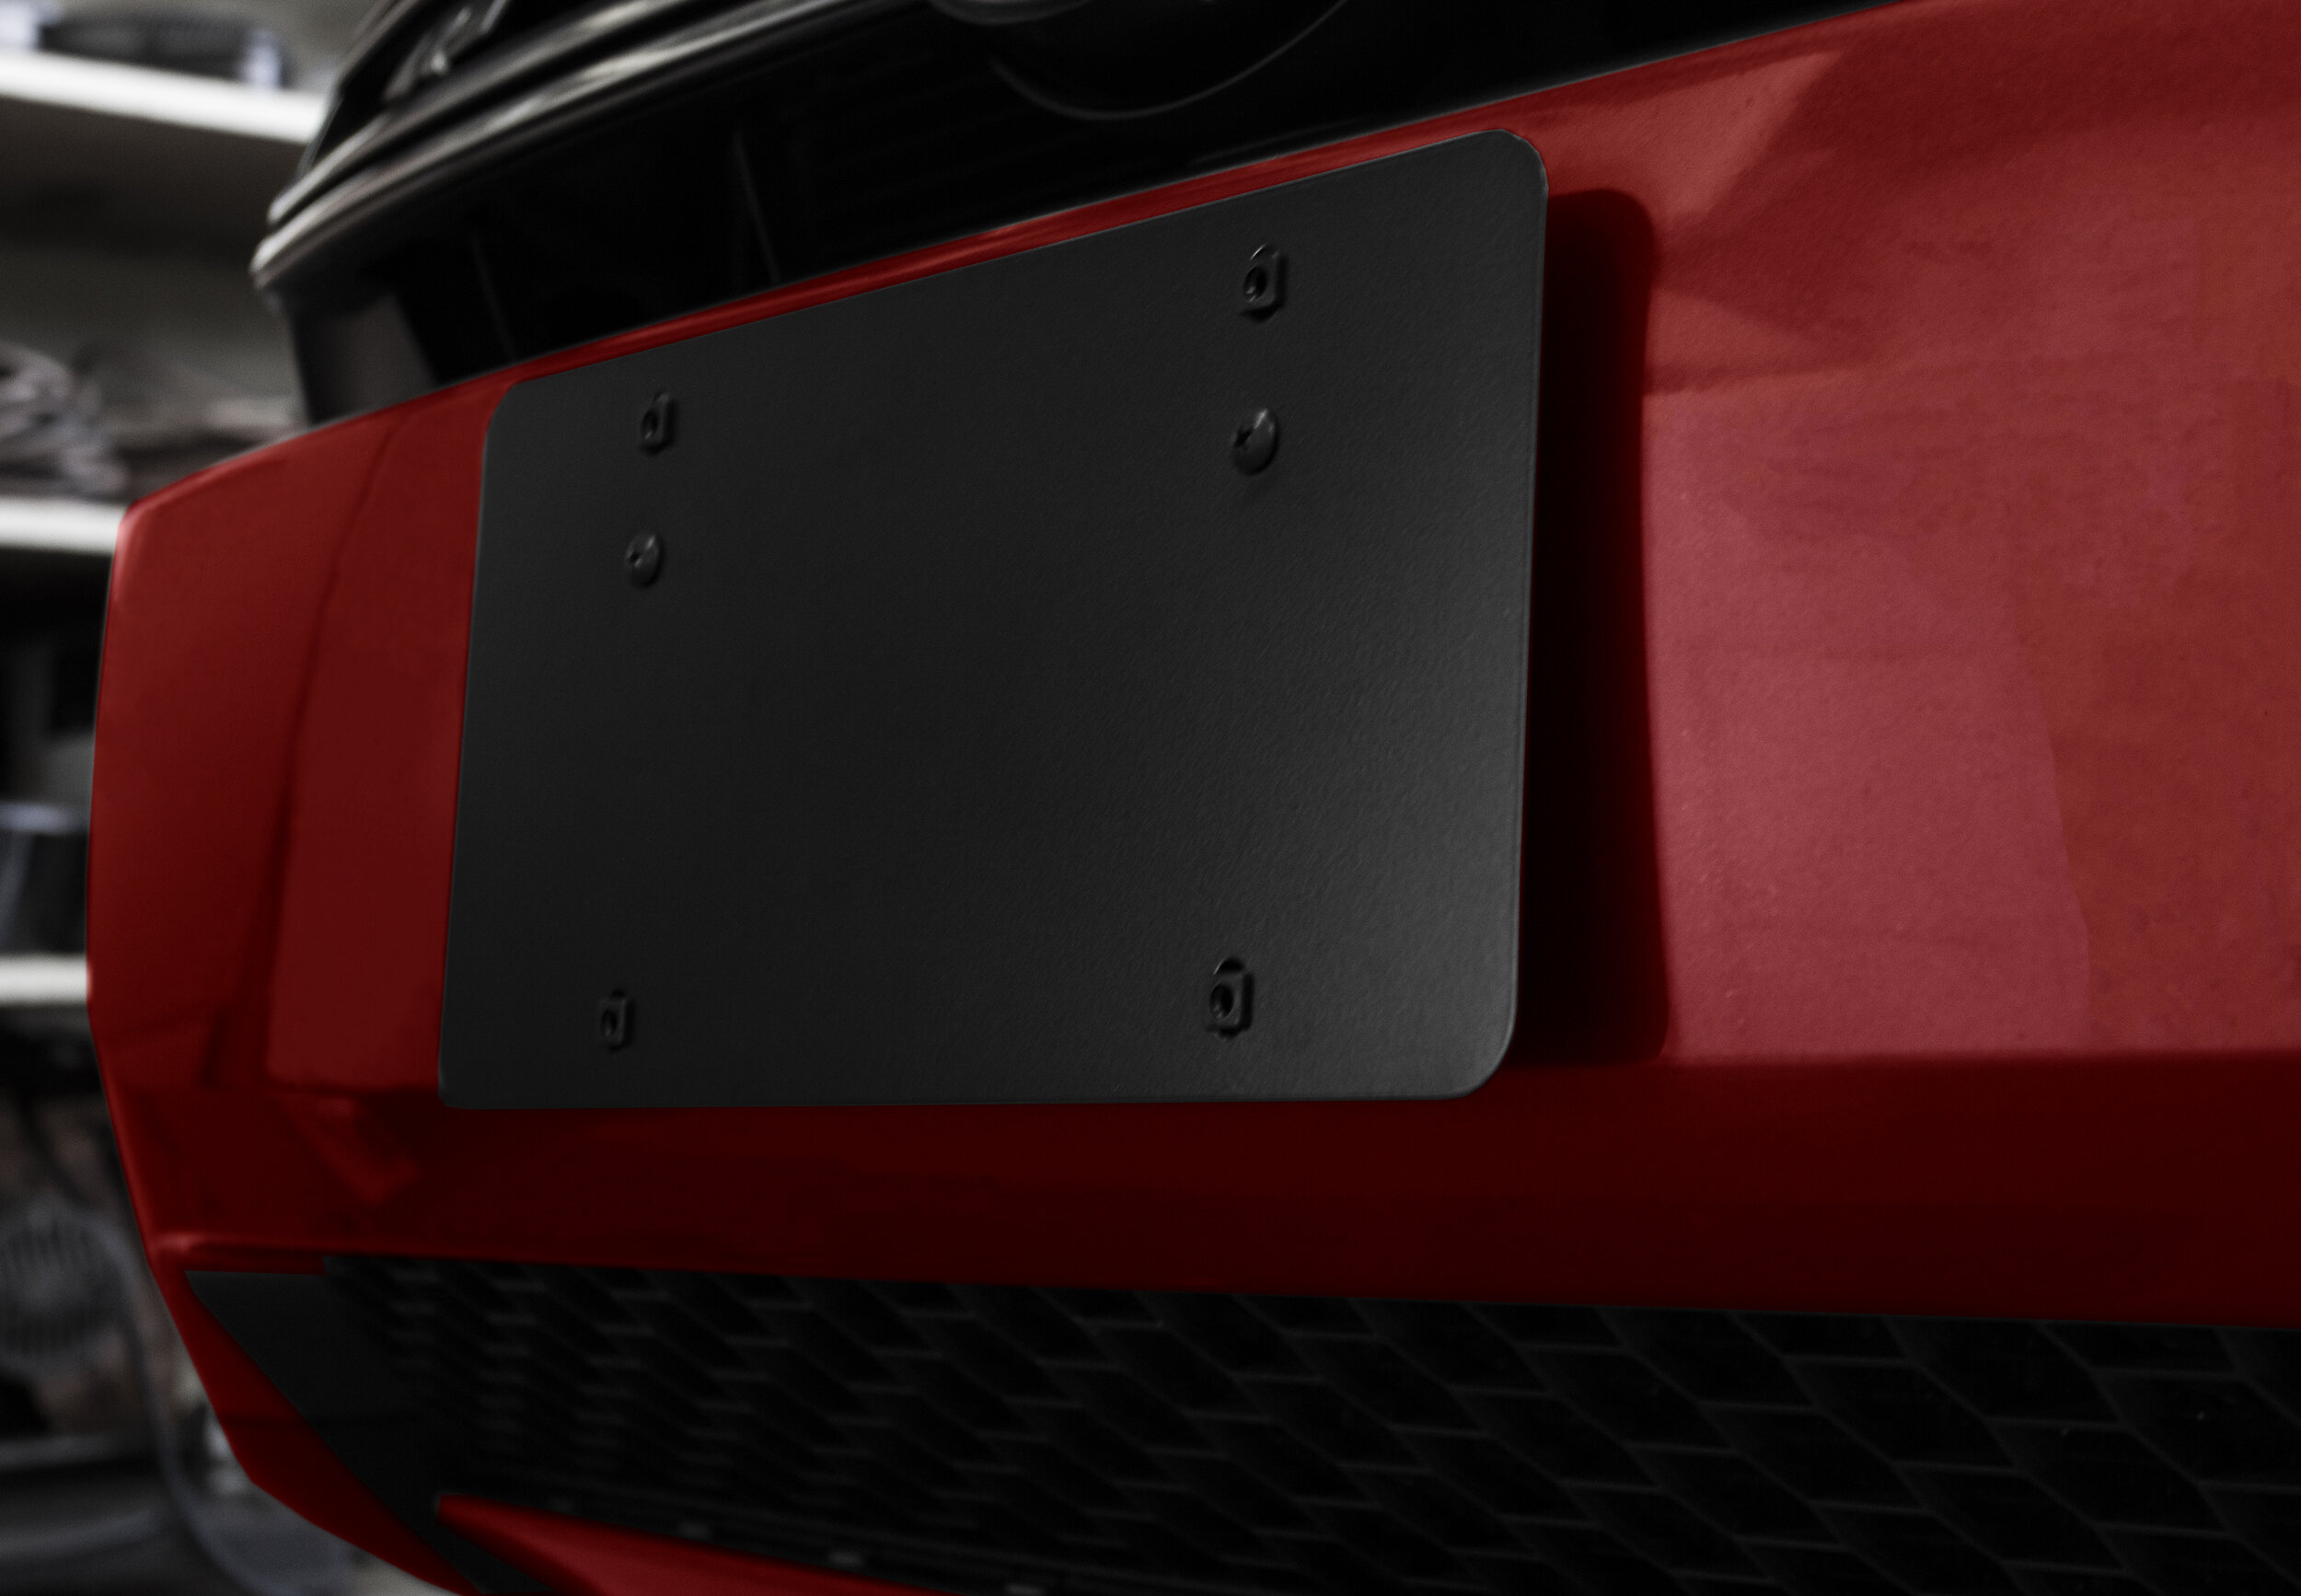
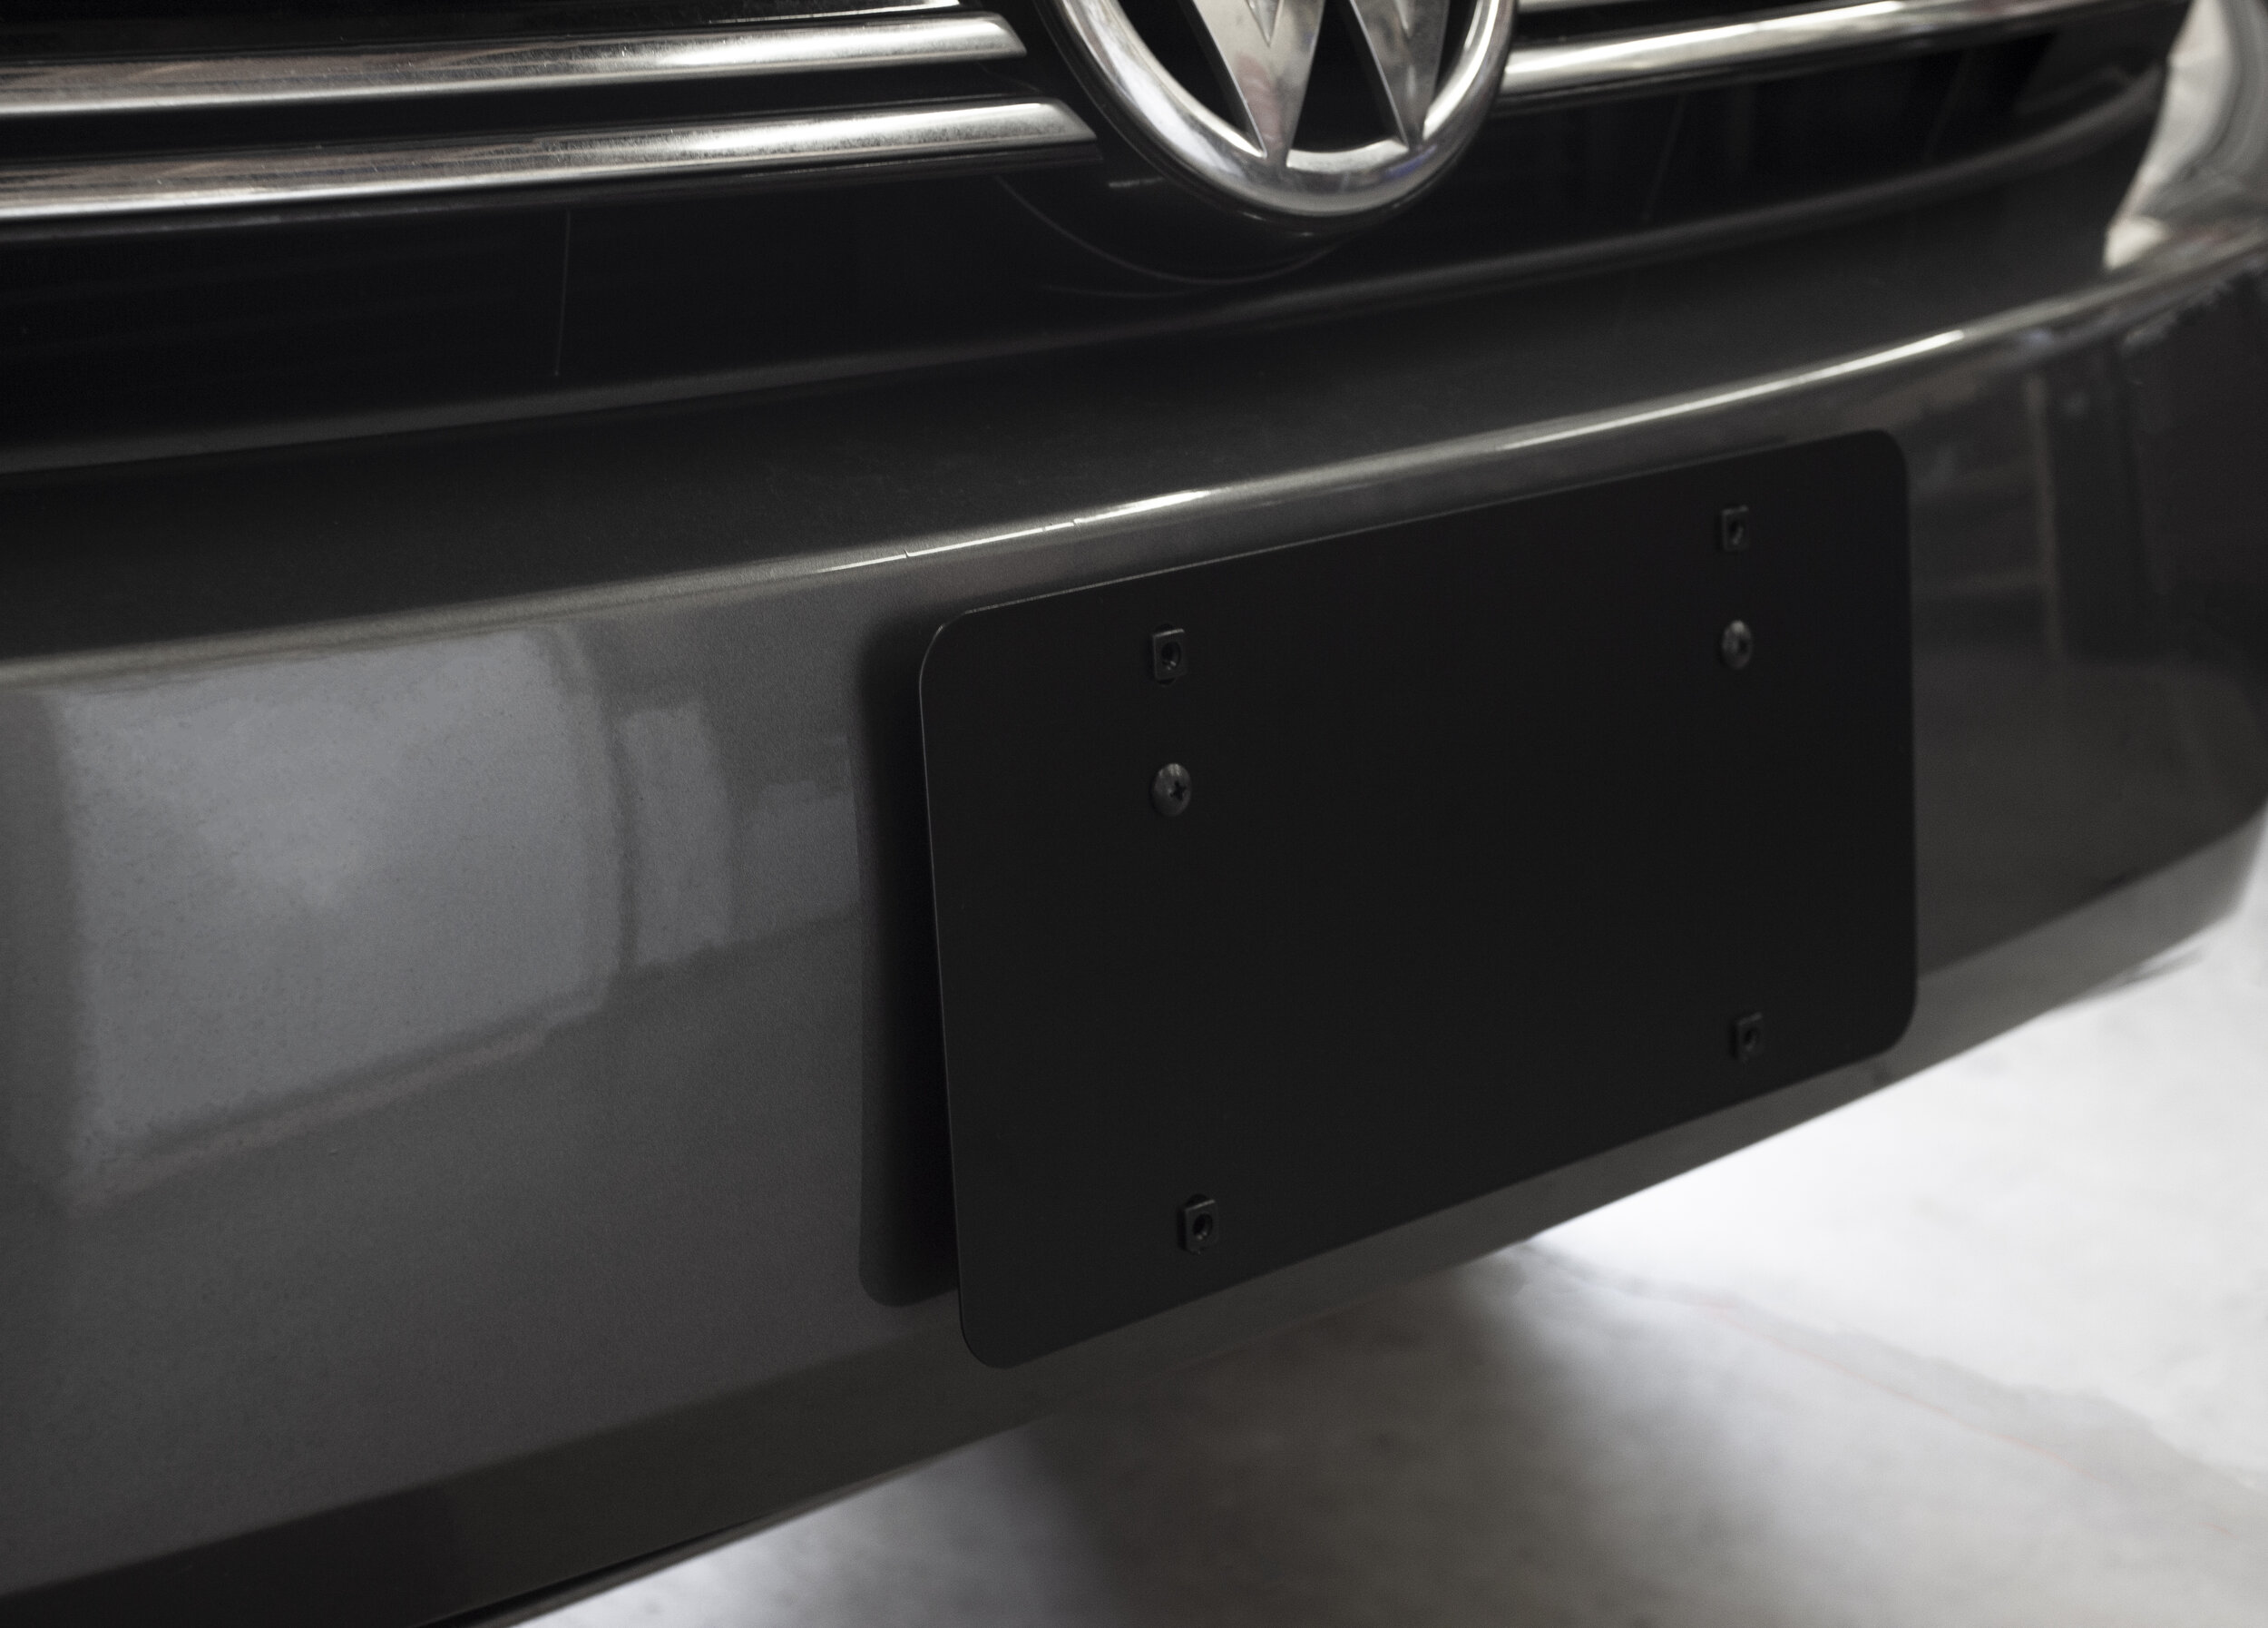
Align the two enclosed Phillips #10x1" screws (red box) through the second row of holes down from the top of the mounting plate (red arrows). These holes will have the rubber spacers on the backside.
Align the mounting bracket assembly to the holes in the bumper*. Using a Phillips head screwdriver, turn both screws in a clockwise direction all the way in until they are seated firmly against the plate. Do not overtighten.
Once tight, the mounting bracket plate assembly with rubber spaces should stay firmly in place against the bumper fascia.


STEP 2
To mount your front license plate, use a Phillips head screwdriver and the four stainless steel license plate mounting screws included (yellow box).
Align and turn each screw in a clockwise direction through the license plate into the four plastic mounting bushings (yellow arrows) that are affixed to the bumper mounting plate.
Be sure not to overtighten these screws, as they may strip the plastic bushings.
Installation Complete!
Take a photo of your installed mounting bracket and tag #carsofcaminc or send to marketing@camincusa.com for a chance to be shared in an upcoming campaign!

Interested in other Camisasca accessories?

