

CAM Inc.’s New Era Stainless Steel E-Plate License Plate Frames are designed to work with Reviver’s RPlate currently approved for DMV use in California, Arizona, and Michigan as of time of this article. Our patent protected assembly includes mounting hardware, finishing matching Hardware Hiders or optional Security Caps, and instructions for an easy installation of your license plates. Read below about how to properly install the Eplate Frame.
For more information on this exciting new product line, see our prior product release bulletin here.

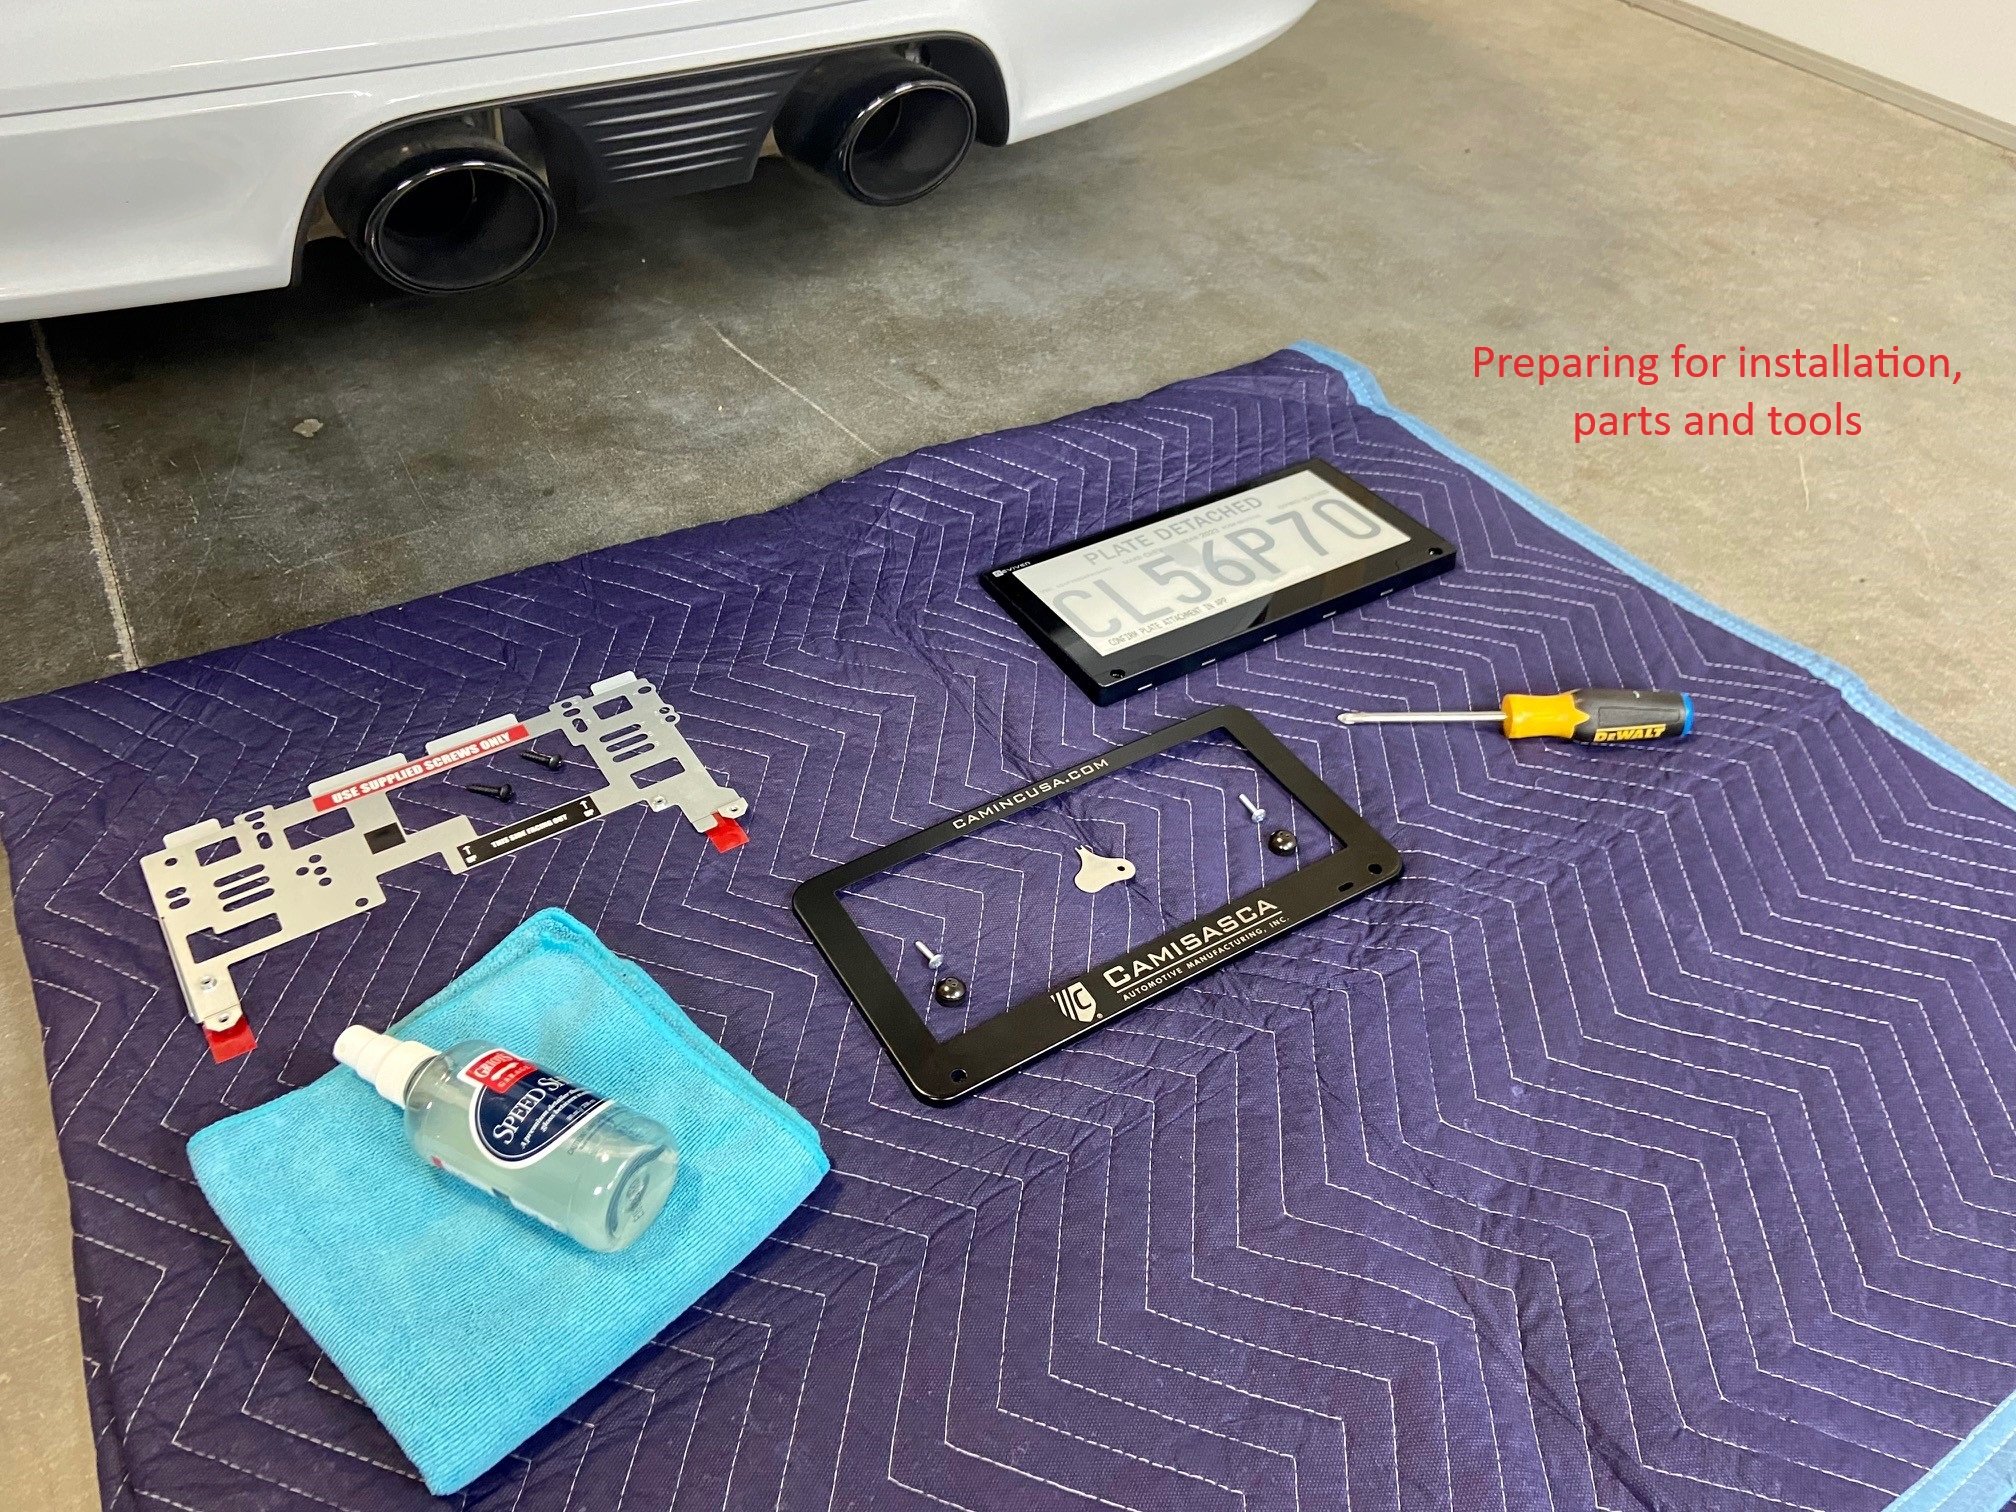
What you’ll Need:
Made to fit most US or Canadian market vehicles.
(1) Reviver RPlate - not included.
(1) Reviver R-Plate Mounting Bracket with Adhesive - not included.
(2) Vehicle Standard Mounting Screws - not included.
(1) CAMI E-Plate License Plate Frame.
(2) M4x16mm Stainless Steel Screws - replace Reviver provided hardware.
(2) Finish Matching Hardware Hiders or (2) optional Stainless Steel Security Caps & Spanner for ultimate theft deterrence.
Phillips Head Screw Driver
Microfiber towel and your favorite quick detailer spray.
Pair with our Universal Mounting Bracket for a completely finished look.
*For some applications, may require the addition of holes in the vehicle mounting surface.
BEFORE YOU START
Create a clean slate by removing your license plate and wiping it clean of any dirt or debris. This is also a great opportunity to wash and wax the area behind your plate.
INSTALLATION
Install the Reviver Mounting Bracket

Your standard vehicle mounting screws (x2) are to be used to mount the Reviver provided back mounting bracket as standard. We used (2) H-SCREW10X1/2PHILBLK along with our optional universal mounting bracket. In this case we had to use the top most holes in the bracket to have clearance for the rear mounted backup camera. Lower portion of the bracket is to be held on with 3M adhesive as included from Reviver. Remove the red liner to relief the tack and press firmly to the clean & dry vehicle surface.
2. Mate the RPlate and EPlate Frame

Slide frame from top over the edge of the R-plate, careful to ensure the top central mounting tab locks in behind the edge of the plate.

If inserted properly, the plate should sit flush against the inside edge of the frame as shown. This is a nice snug fit that cannot slide out easily from behind the central tab. It also aligns both mounting holes and the front side button access with minimal adjustability.
3. Mount the RPlate & Eplate Frame to the vehicle
With a swinging motion, hold the top edge of the Rplate to the top edge of the Reviver Mounting Bracket. While simultaneous bringing the assembly down and in, catch the back slots of the Rplate onto the top protruding edge of the Reviver mounting bracket. If done correctly the assembly should sit flush to the bracket/vehicle, and hang without assistance.

Feed CAMI provided M4x16mm screw (replaces Reviver provided screw) through the hardware hider or security cap base. Then insert the screw into the hold at the lower corner of the frame, through the R-Plate and into the plate mounting bracket threaded fitting on the backside. The screw should thread easily without the use of force. Level and straighten the assembly while loose. Tighten screw until base is seated firmly against the frame. Be careful not to overtighten for this may damage the frame and/or strip the threads in the backside mounting bracket. If using a secuity cap, the included teflon washer should be placed between the bottom of the base and the frame.

3. Restrict access to the mounting screw head
Next we restrict access to the screw head using either option below.
If using Hardware Hiders (Patent 10843642) - thread the cap lid onto the base by hand, normal thread lefty-loosey righty-tighty. Tighten until the base begins to rotate.
Shown - If using Security Caps (Patent 8051690 & D608626) - using the included Spanner, thread the REVERSE threaded security cap lid onto the base. Do not overtighten. It is recommended to save the spanner wrench in your glove box for future use.


4. Installation Complete!
Below is completed installation with security features in place! Final assembly should not block visibility of the frame/backup camera, protect access to the mounting screws from passerbys, and securely fasten your Rplate to the vehicle.
Note - Check that the top is still securely held by the top edge of the Reviver mounting bracket in back. if it is not, undo the caps and screws, and repeat beginning at Step 3.

* For wholesale, retail, or other procurement opportunities, and to add your custom corporate branding to our patent pending e-plate design, contact us at sales@camincusa.com where a CAMI sales representative will be glad to assist you. See our brochure here.

Interested in other Camisasca accessories?

